CIFS (Common Internet File System) is a network file system protocol that enables file sharing between Linux and Windows systems. It can function both as a client and a server (to provide sharing services).
Case Details
CIFS (Common Internet File System) is a network file system protocol that enables file sharing between Linux and Windows systems. It can function both as a client and a server (to provide sharing services). This document describes how to install and configure a CIFS server on a Linux system, mount a CIFS share on Linux, and access a CIFS share on Windows. We support CentOS, Debian, and Windows environments.
On Debian or Ubuntu, install the
cifs-utils package:
apt update
apt install -y cifs-utils
As shown in the figure below: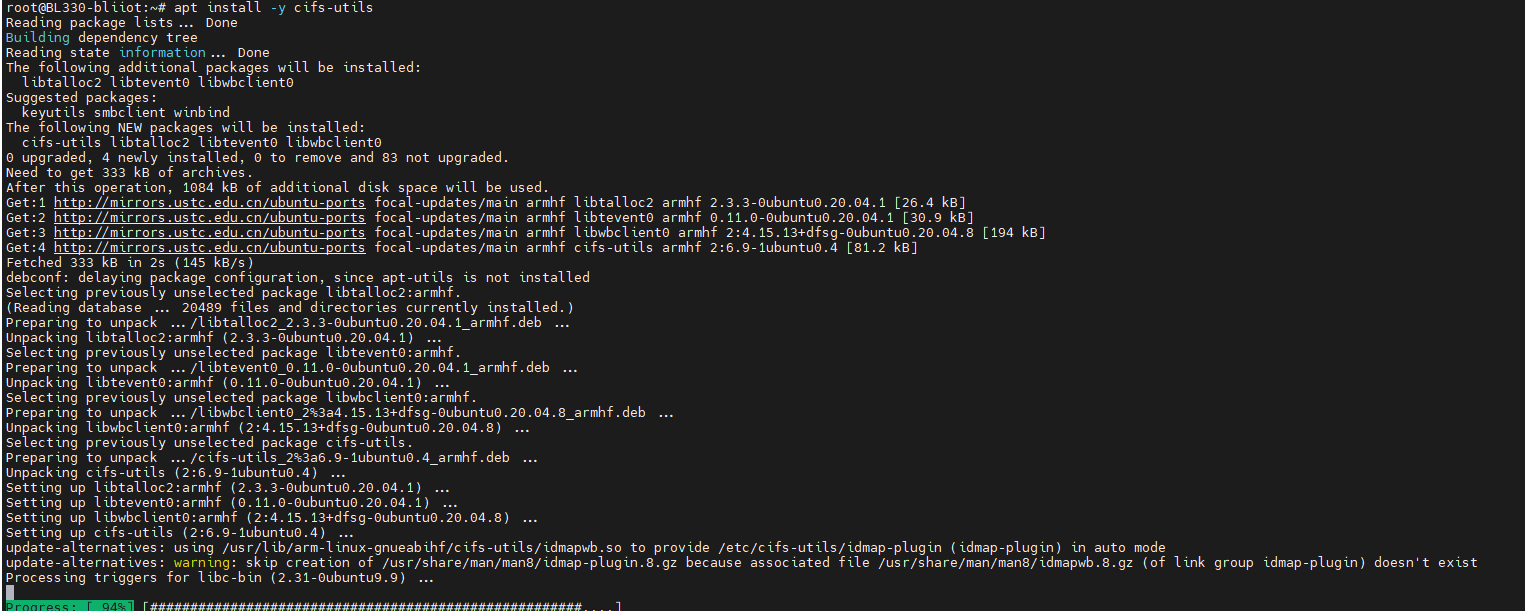
mkdir /mnt/<Mount File Name>

mount -t cifs //192.168.1.48/share /mnt/cifs -o username=your_username,password=your_password

//192.168.1.48/share /data/cifs cifs credentials=/etc/cifs-credentials,uid=1000,gid=1000 0 0
Storing passwords in plain text in fstab poses a security risk, so we store the credentials in a separate file:
nano /etc/cifs-credentials
Write the following content into the file:
username=cife
password=123456
Set permissions for the file:
chmod 600 /etc/cifs-credentials
apt install -y samba samba-common-bin
After installation, edit the Samba configuration file /etc/samba/smb.conf and add the shared directory configuration at the end of the file. Assume we want to share the directory /mnt/share and require username and password for access.
Edit the
smb.conf configuration file:
vi /etc/samba/smb.conf
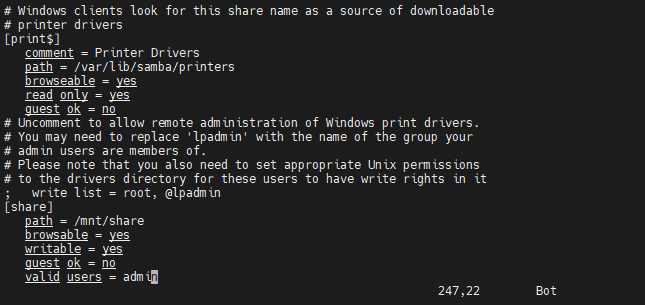
Add the following configuration at the end of the file:
[share]
   path = /mnt/share
   browsable = yes
   writable = yes
   guest ok = no
   valid users = your_username
- path: Specifies the path to the shared directory.
- browsable: Allows browsing of the shared directory.
- writable: Allows writing to the shared directory.
- guest ok: Disables anonymous access.
- valid users: Specifies the users who can access this share.
mkdir -p /mnt/share
chown -R your_username:your_username /mnt/share

smbpasswd -a your_username

systemctl enable smbd nmbd
systemctl start smbd nmbd
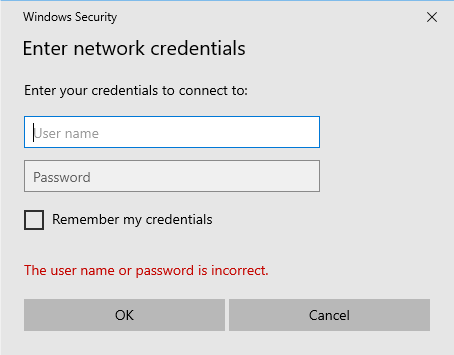
Enter the shared path (in the same format as above), for example: \\192.168.1.181\share, and click "OK";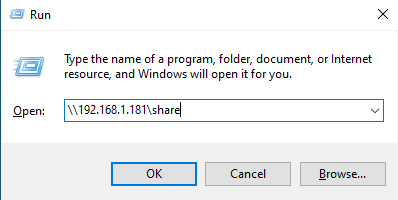 Enter the Samba username and password to access the share.